
An Arduino shield is basically another circuit board that plugs into the Arduino and extends its capabilities in some way. So, of course, if you create your own DIY Arduino, you have to create a DIY Arduino shield.
I needed a way to attach an HD44780 LCD to my DIY Arduino so I created a shield for it. Here is how my DIY Arduino shield turned out:
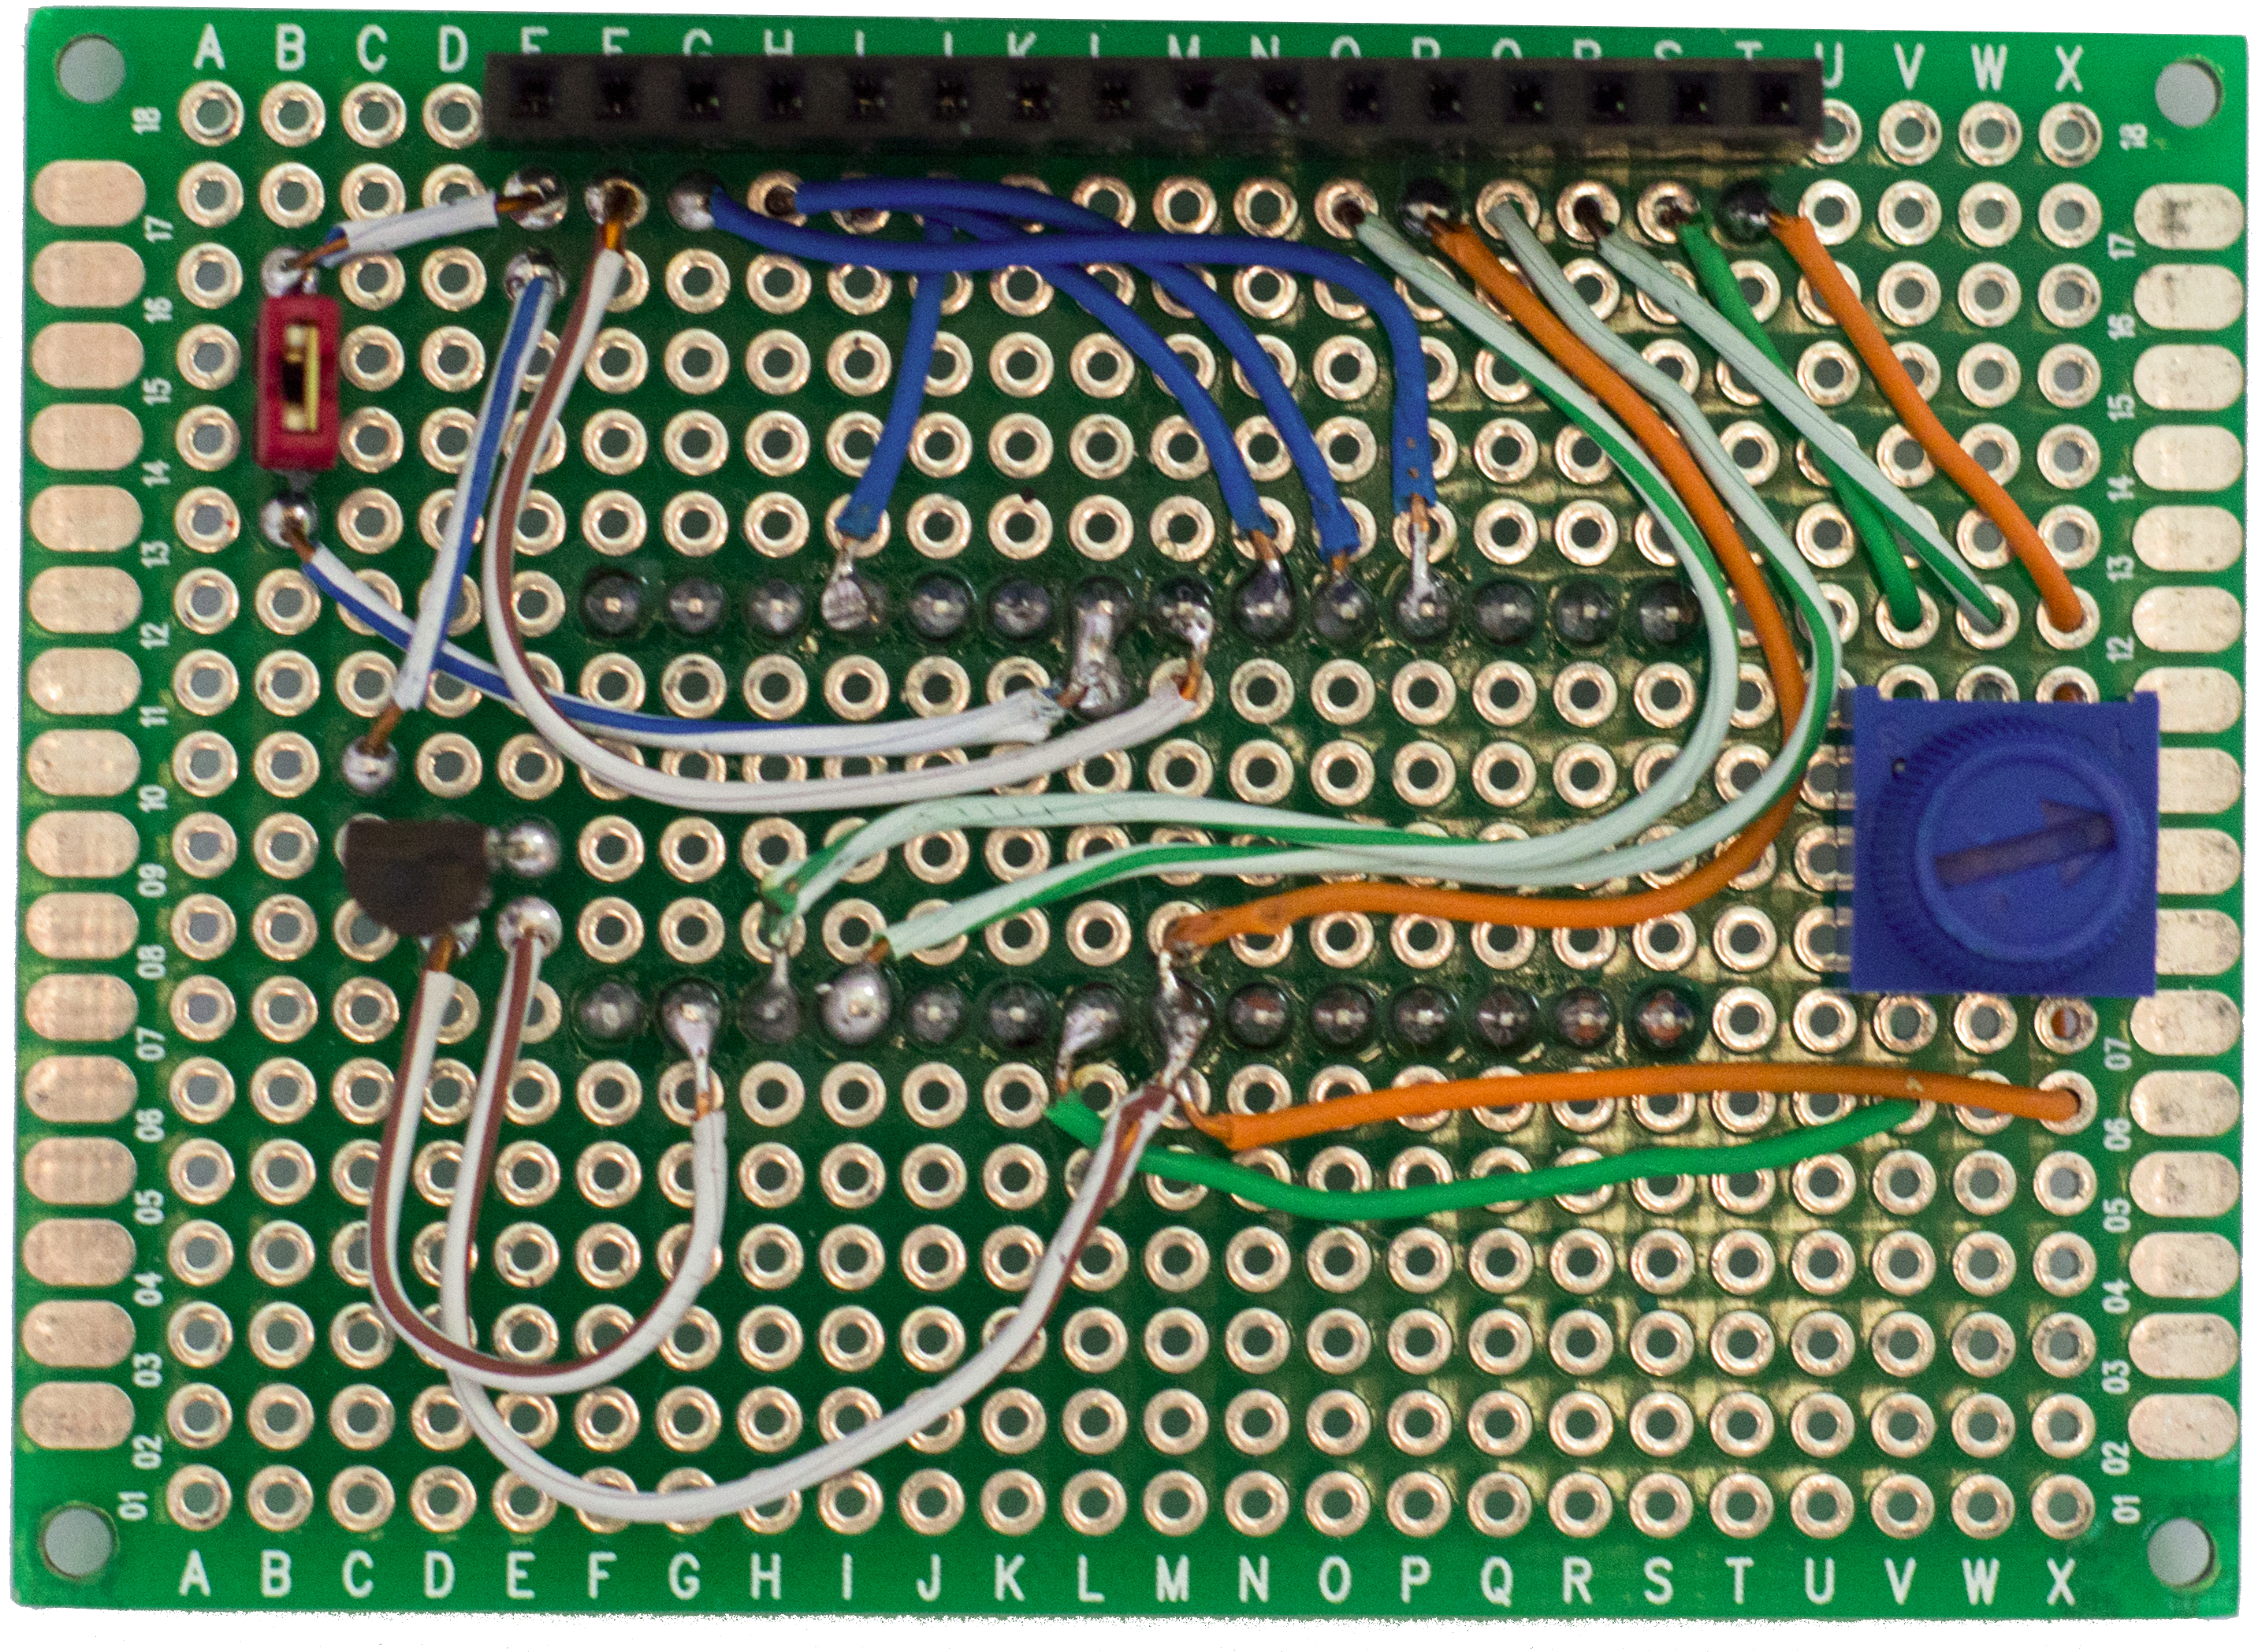
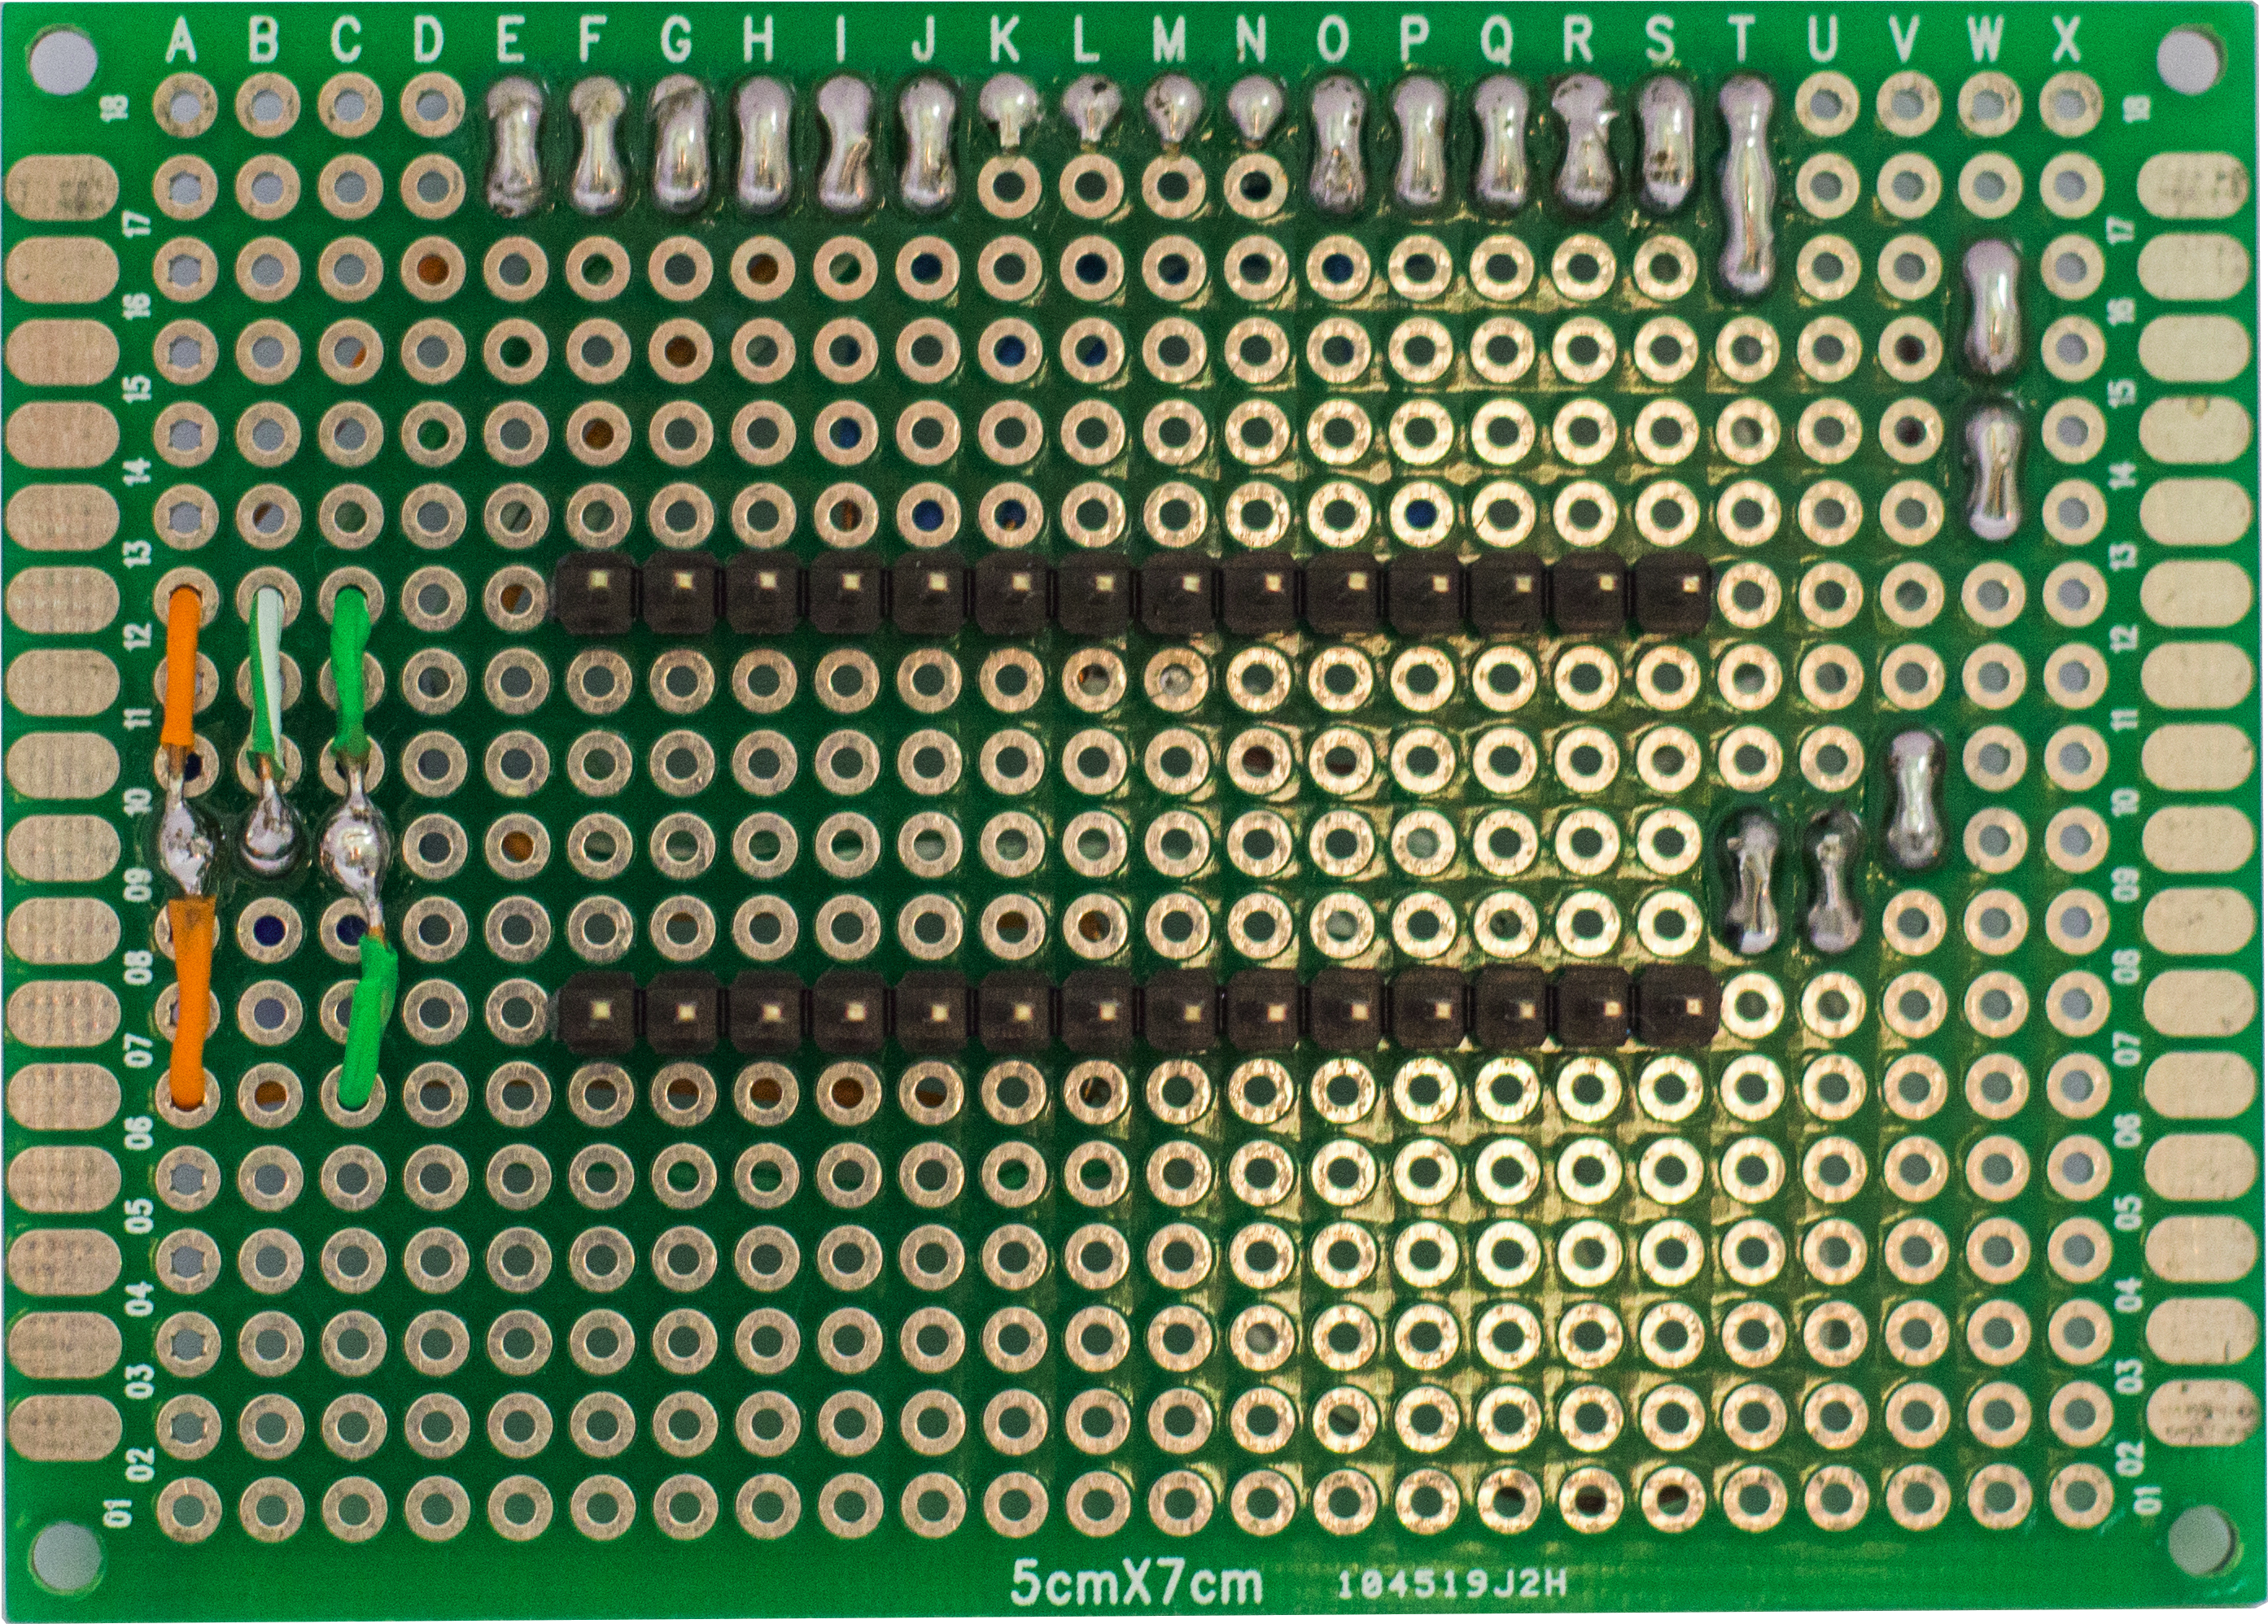
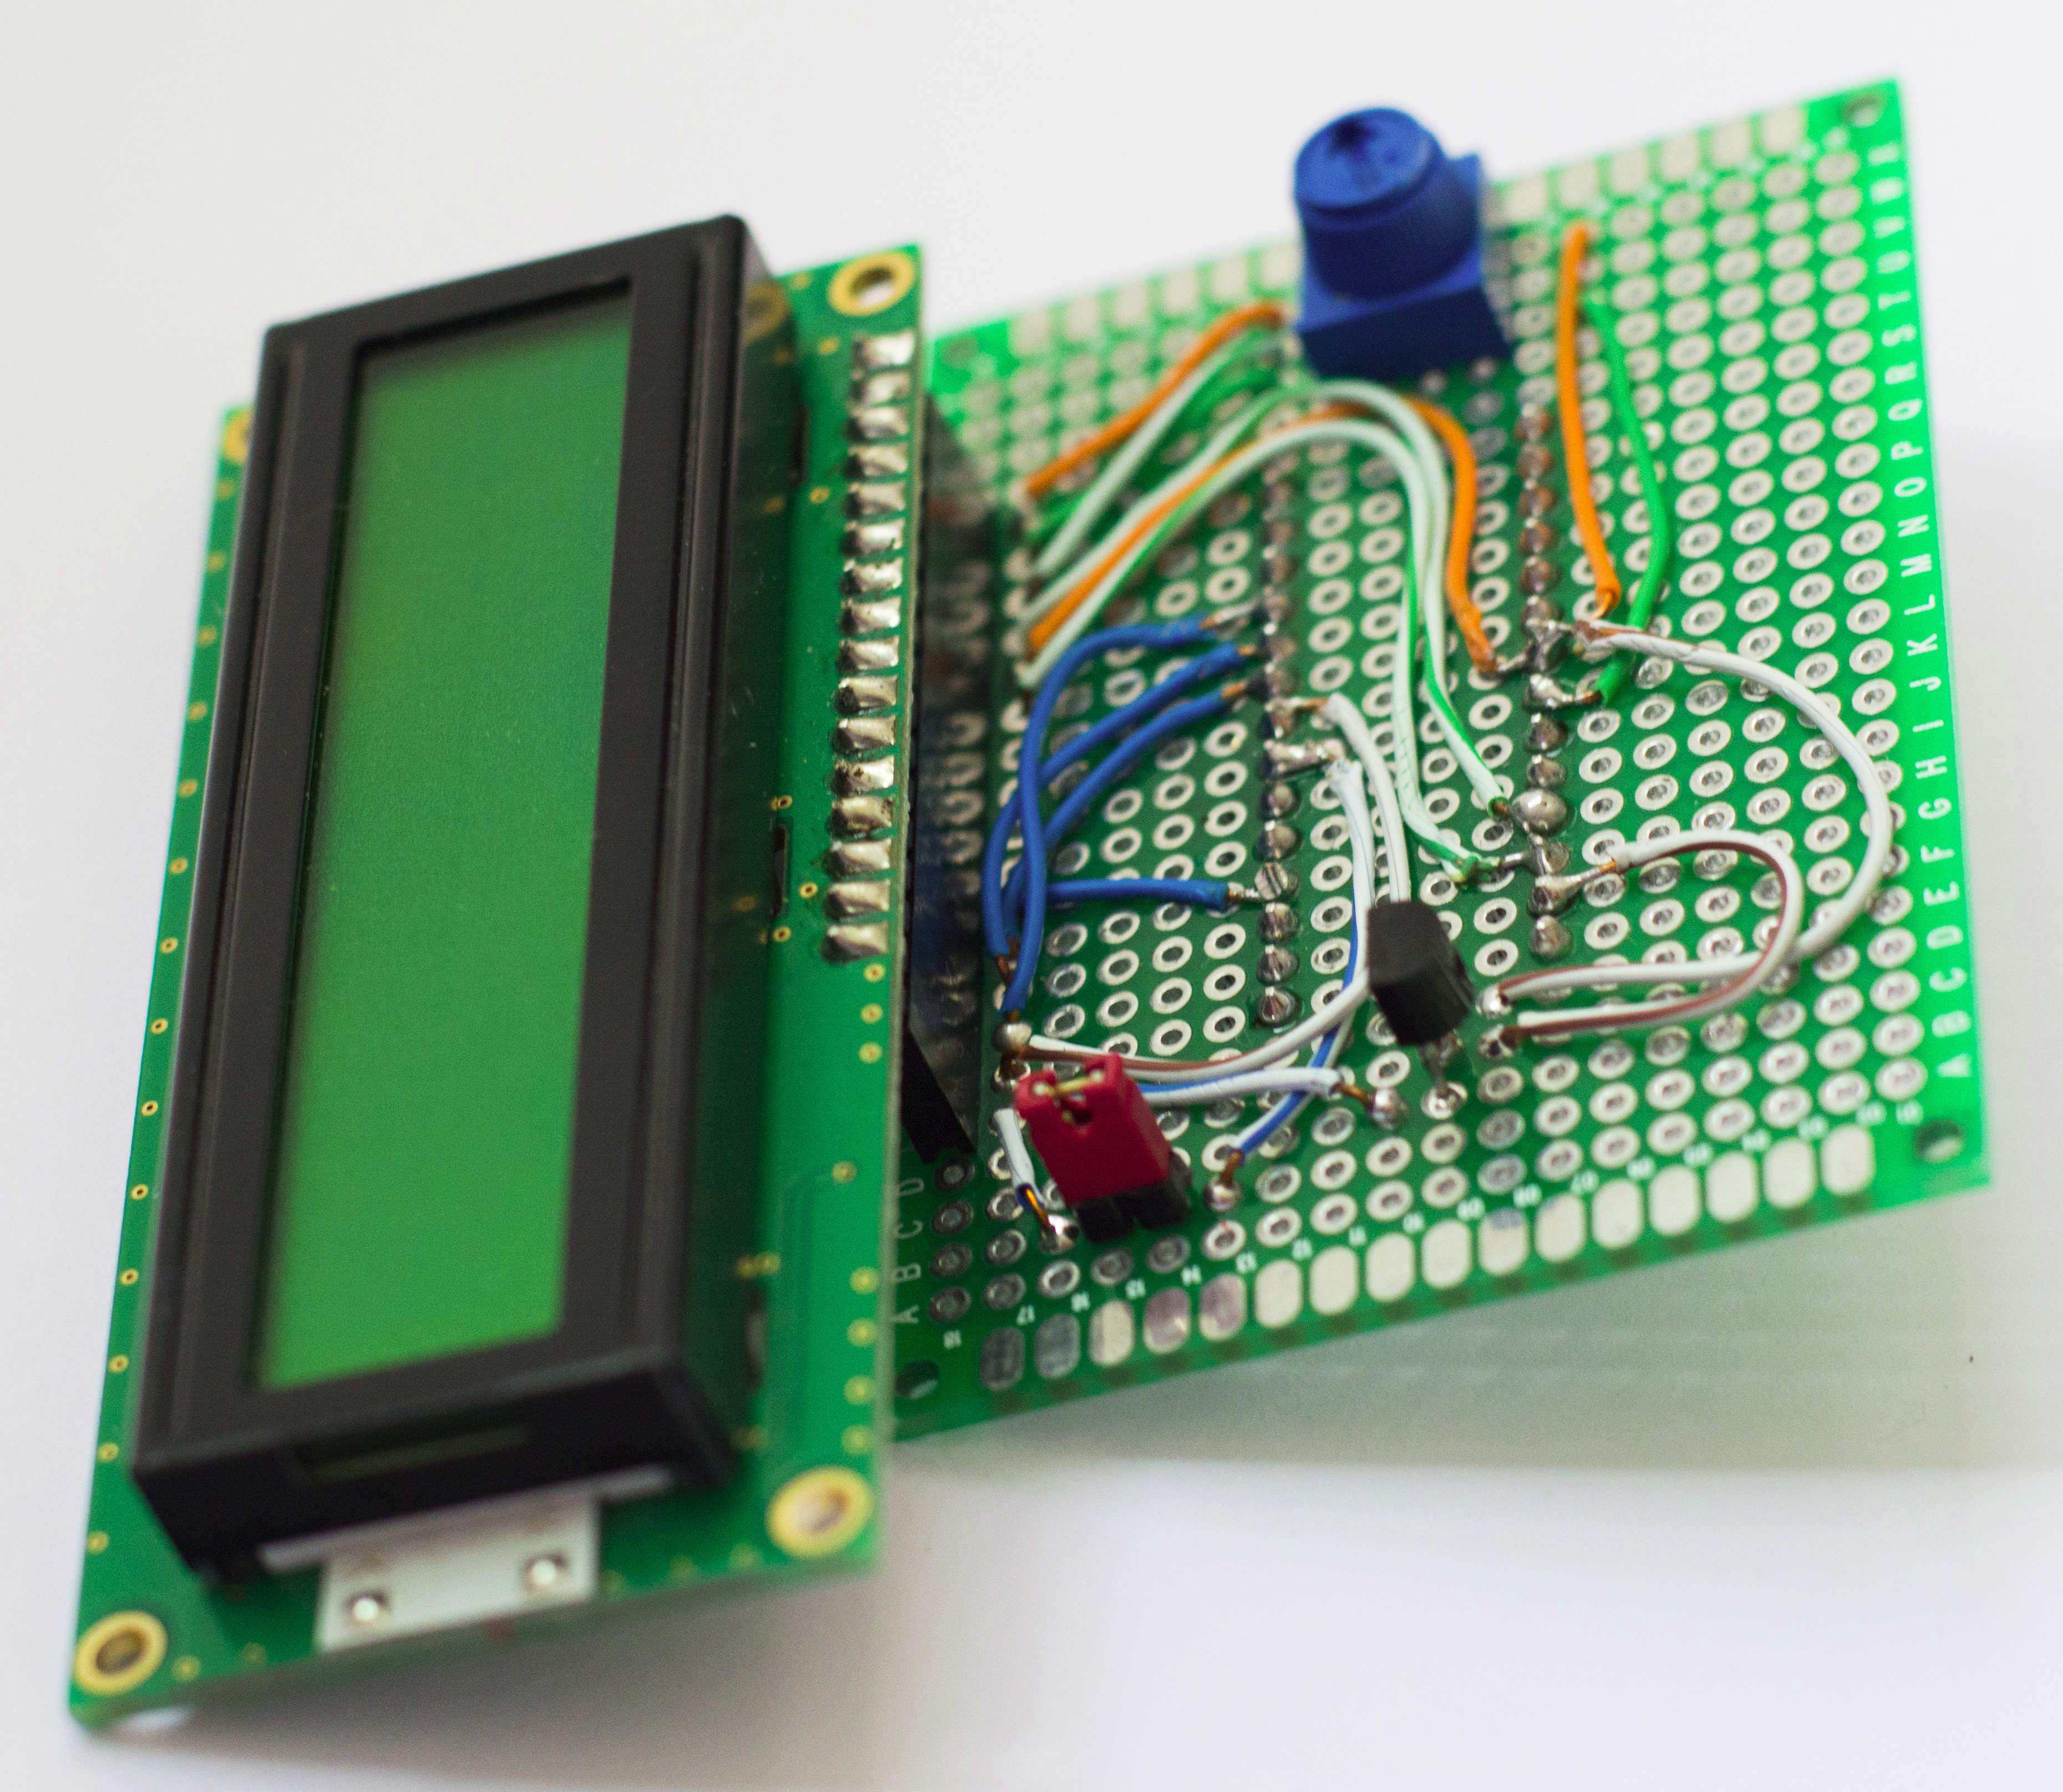 And here are pictures of the front and back:
It has a 16 pin female header to plug in the LCD, a 10K potentiometer to adjust the contrast and a jumper to turn on the backlight. The backlight can also be turned on (if the jumper is off) by pin 10 which is connected to a transistor.
The shield itself is basically a 5×7 cm fiberglass board with two rows of 14 pin male headers. The 14 pin male headers plug into the female headers on the DIY Arduino and thus extend all the Atmega 328 pins onto the shield. This then provides an whole new surface area to work with. That is how a shield works as a means to enhance the functionality of the base Arduino,
The wiring for this shield is nothing special (it is the standard way to hook up an LCD). Here is a Fritzing graphic diagram:
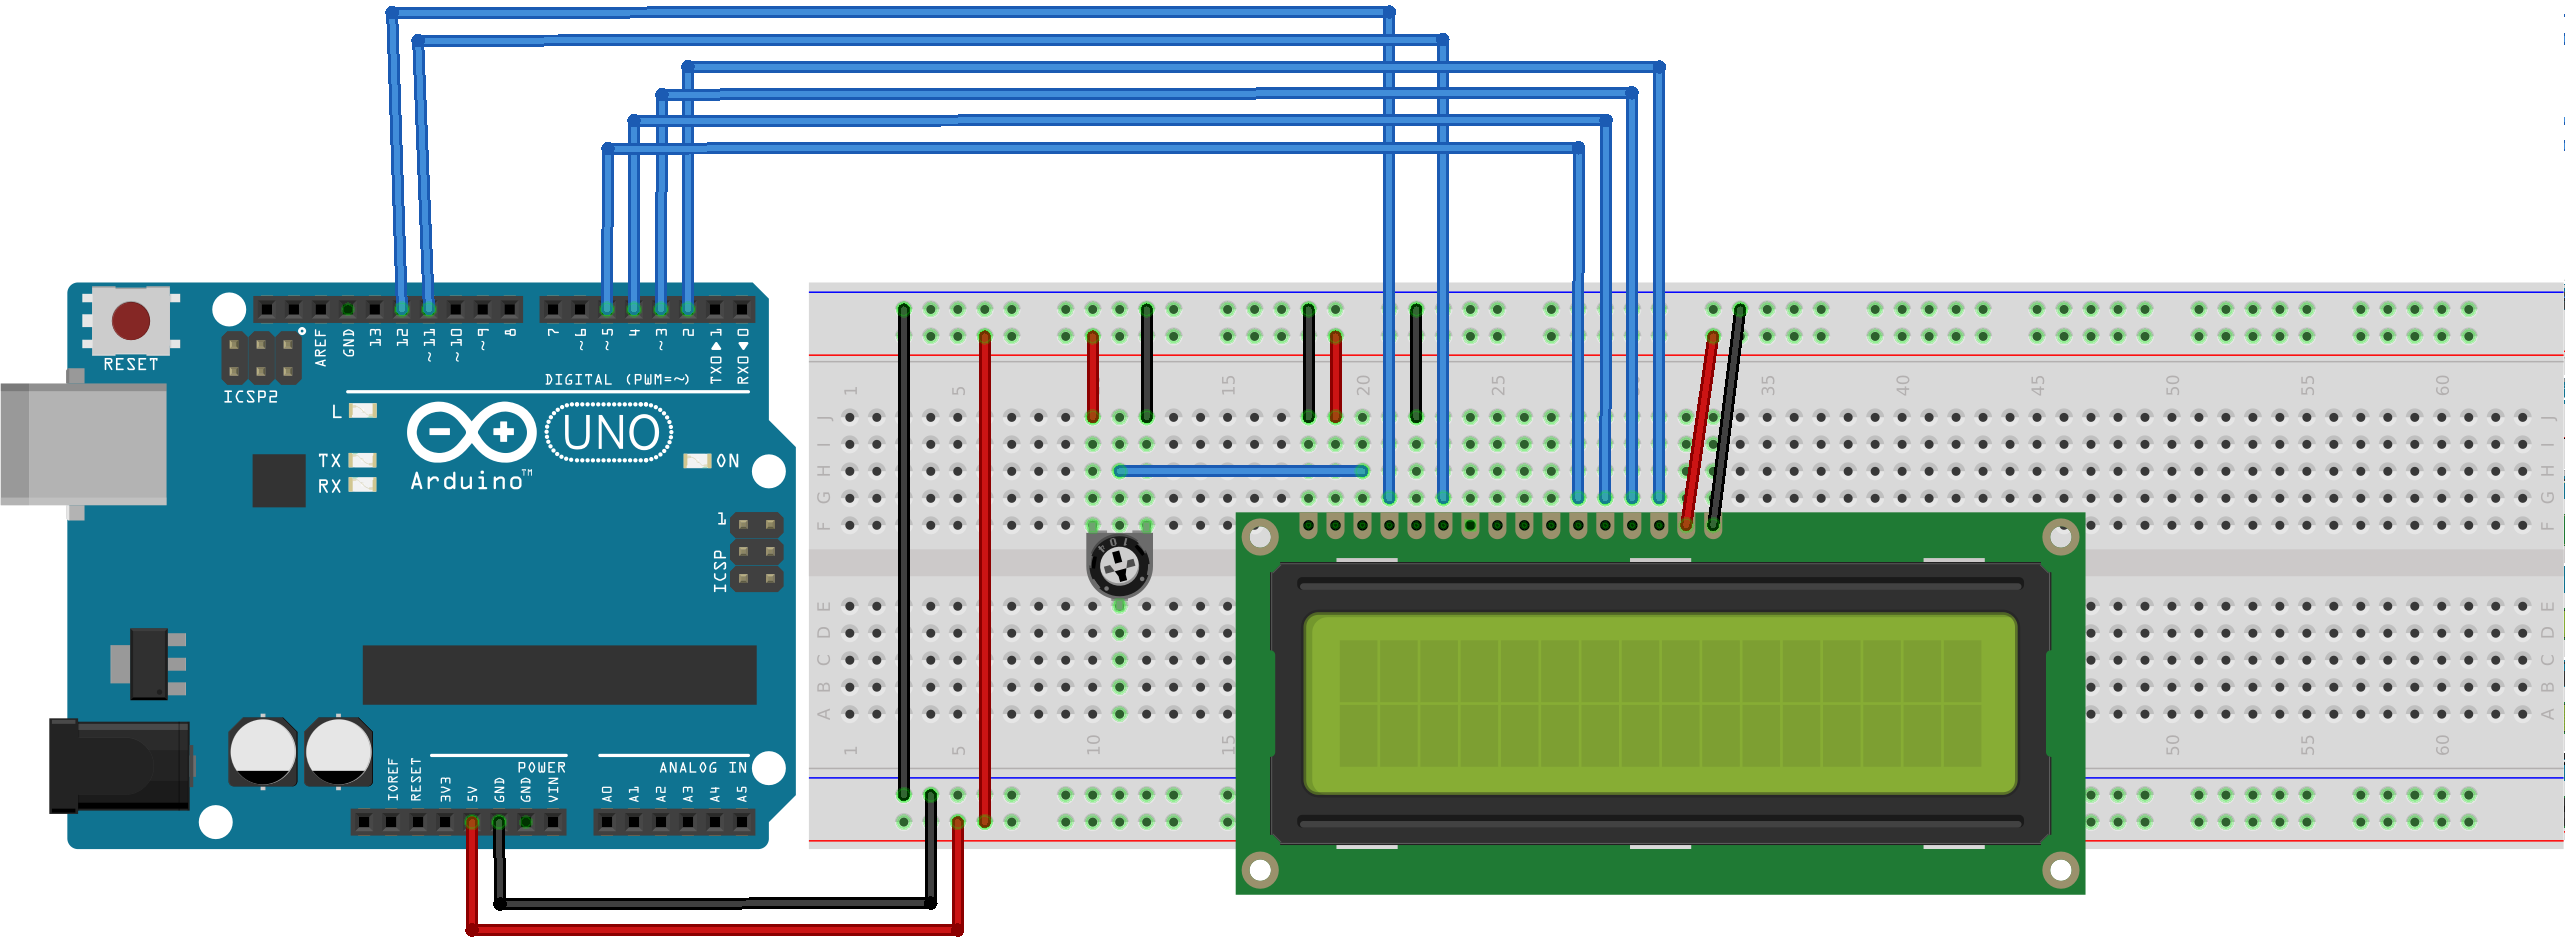
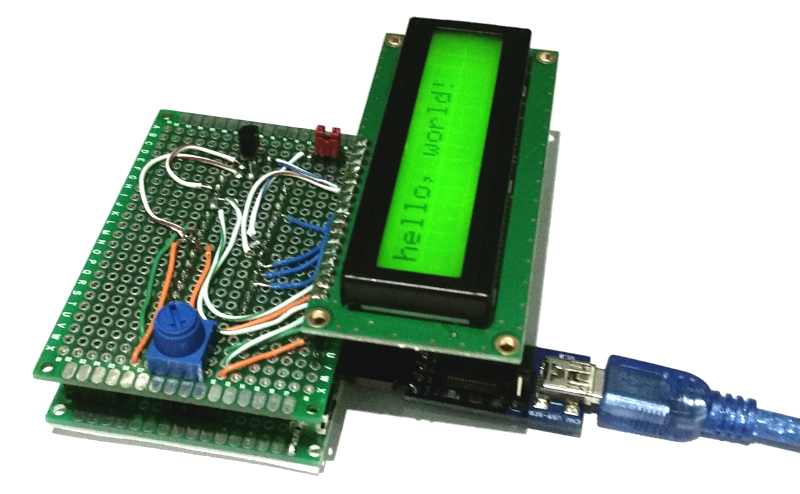
You can get the Fritzing diagram source file HERE. When the DIY LCD shield is attached and running, this is what it looks like:
Recent Comments